Camping at Trolltunga
In July 2023, we took a 3-week trip to Norway by car and ferry. Norway only showed up on our radar due to a trip to Finland earlier this year. Our fascination with Scandinavia took of from there. While reading about everything to do in Norway a few things came up a lot, one of them being the Trolltunga hike.
Our approach
On the trip to Norway we were still quite new to multi-day hikes. However: I read a blog from a few years earlier that described a way to enjoy the beauty that is Trolltunga without standing in line for an hour to take a single picture and be off again. Seeing as we were already planning a multi-day trek and would be taking our backpacking gear with us, the decision was made. We would do the Trolltunga hike in two days, sleeping up there.
The hike itself
The Trolltunga hike is, notwithstanding the Preikestolen hike, one of the largest tourist attractions of Norway. With its iconic view people hike all day to take a photo standing, or sitting, on the edge of this famous rock. The numbers are as follows:
27km round-trip hike if starting from Skjeggedal P2 (more information below)
1200m total ascent
A well-marked trail which can get pretty steep at times
Parking and fees
If you want to get to the start of this hike, you have a few options. You can take a taxi, bus or go there by car. Most people choose to go to the trailhead by car. Norwegians, clever as they are, accommodate this but ask a steep price. If going by car there are 3 different parking options.
P1 Tyssedal is the farthest away from the start of the hike. From here, buses go to the start of the hike at P2. You pay NOK 300 for one day, NOK 500 for two. Hiking from this parking lot will make it a whopping 38km hike total.
P2 Skjeggedal is where most people park and start their hike. Here you pay NOK 500 for one day and NOK 700 for two days. Additionally, you pay NOK 200 for the toll road to get to the parking spot.
Finally there is the option to park at P3 Mågelitopp, these 30 spaces need to be booked in advance but do shave 7km and a lot of climbing from the total hike. If you don’t want to do the initial steep climb from P2 to P3, you can pay extra to take a bus up there as well.
We parked the car at the P2 parking lot. The parkinglot fills up fast in the morning, so if you want to ensure a spot go early! Since we were hiking the trail in 2 days, we decided to start our hike up in the afternoon around 14:00u. Driving to the parking lot, we were stopped at P1 because the P2 was full. This gives you 2 options: park the car in P1 for a lower price and take a bus up to P2 or wait until space opened up. Since we didn’t want to be dependent on the bus, we chose to wait. This paid of quickly and within 10 minutes we were free to drive up.
Hiking to the Trolltunga
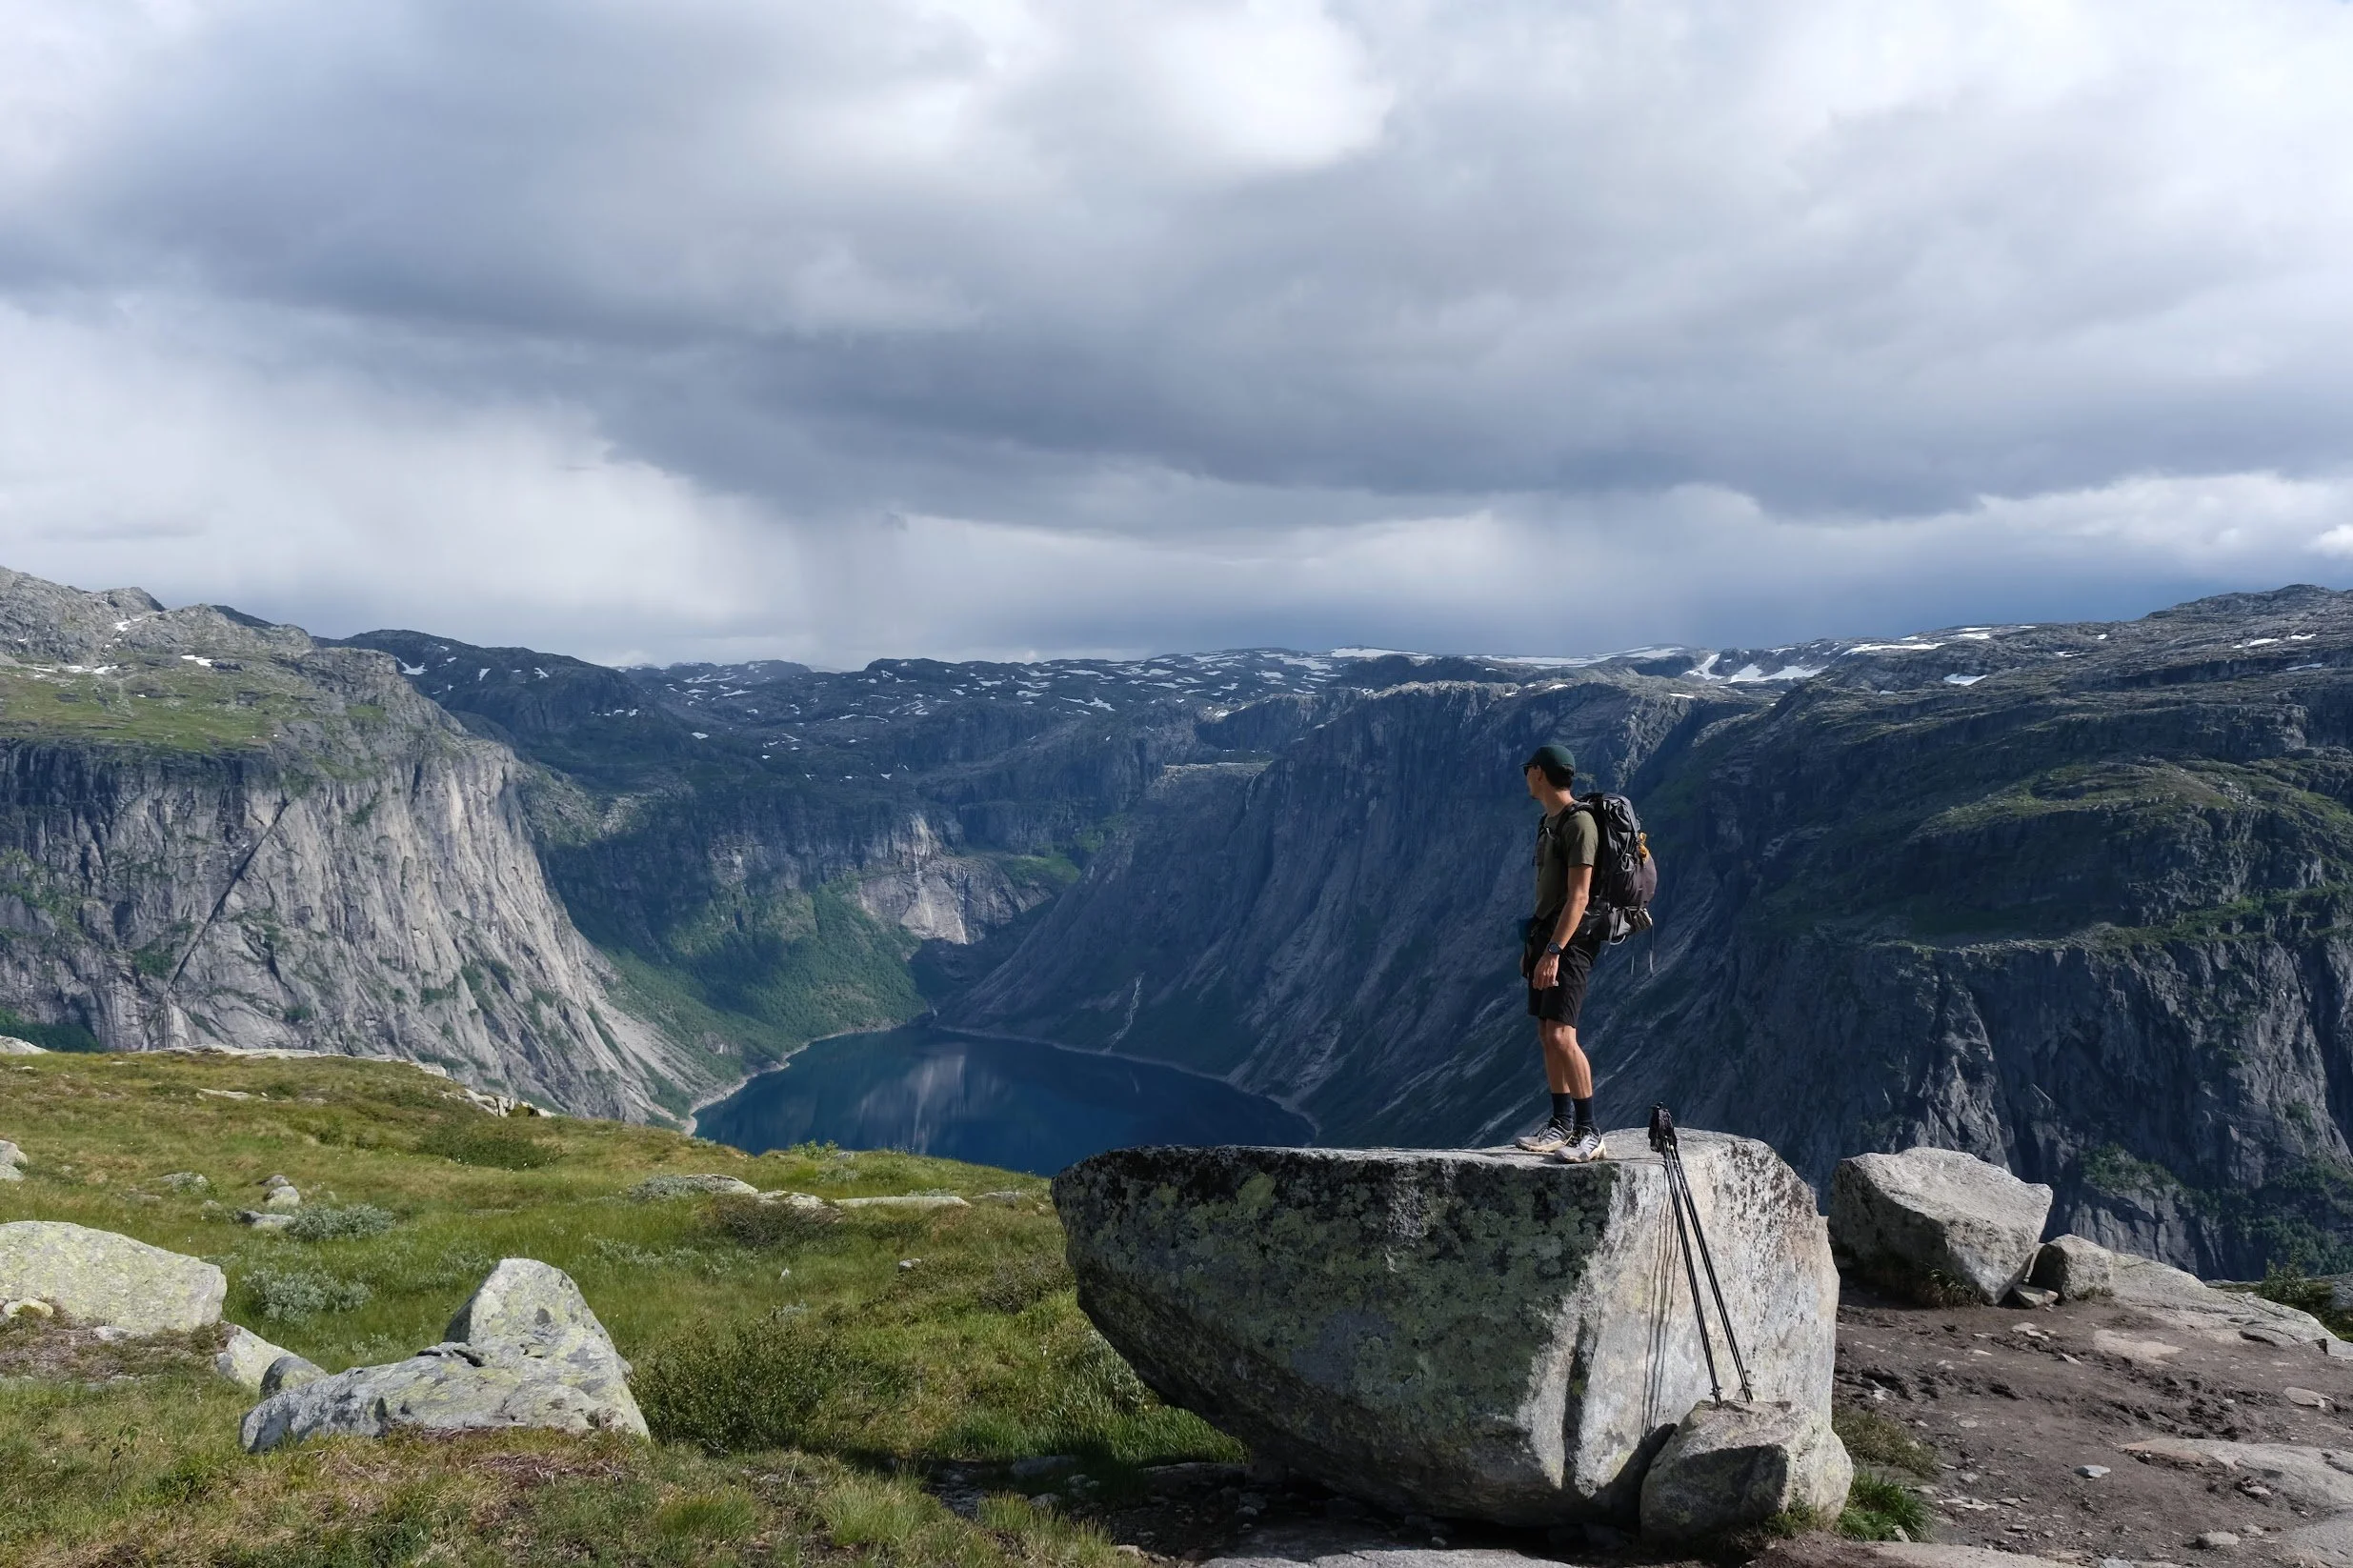
While pictures speak for themselves, we’ll say a few things about the hike. It is a difficult one. Starting from P2, you first walk on a paved road for about 4km on a steep incline. This is also the worst part of the entire hike. After doing that, you get a flat bit with some bridges before starting the climb again and getting some gorgeous views. While you should always be prepared, you come across plenty of water during the hike so if you bring a filter you will always have enough.
Since we started hiking in the afternoon, we met a lot of people coming down the mountain again. It is a very busy trail, especially in the summer months. Don’t expect to be alone at any time hiking up or down. Because it attracts a lot of tourists, this also means many people show up unprepared. We were shocked by the sheer number of people hiking in slippers, white sneakers, jeans and without any gear whatsoever. While we were lucky with the weather and kept it mostly dry, this hike can become tricky if it gets wet and we would recommend coming well prepared for any type of weather and bringing plenty of food to fuel yourself.
When you’re hiking you come across signs showing how far along you are on the route. They also use these signs to indicate if you are allowed to camp there or not. Some areas they prefer you don’t, which is clearly marked. We hiked up in a little under 5 hours and walked past the actual Trolltunga to the space they indicate for camping.
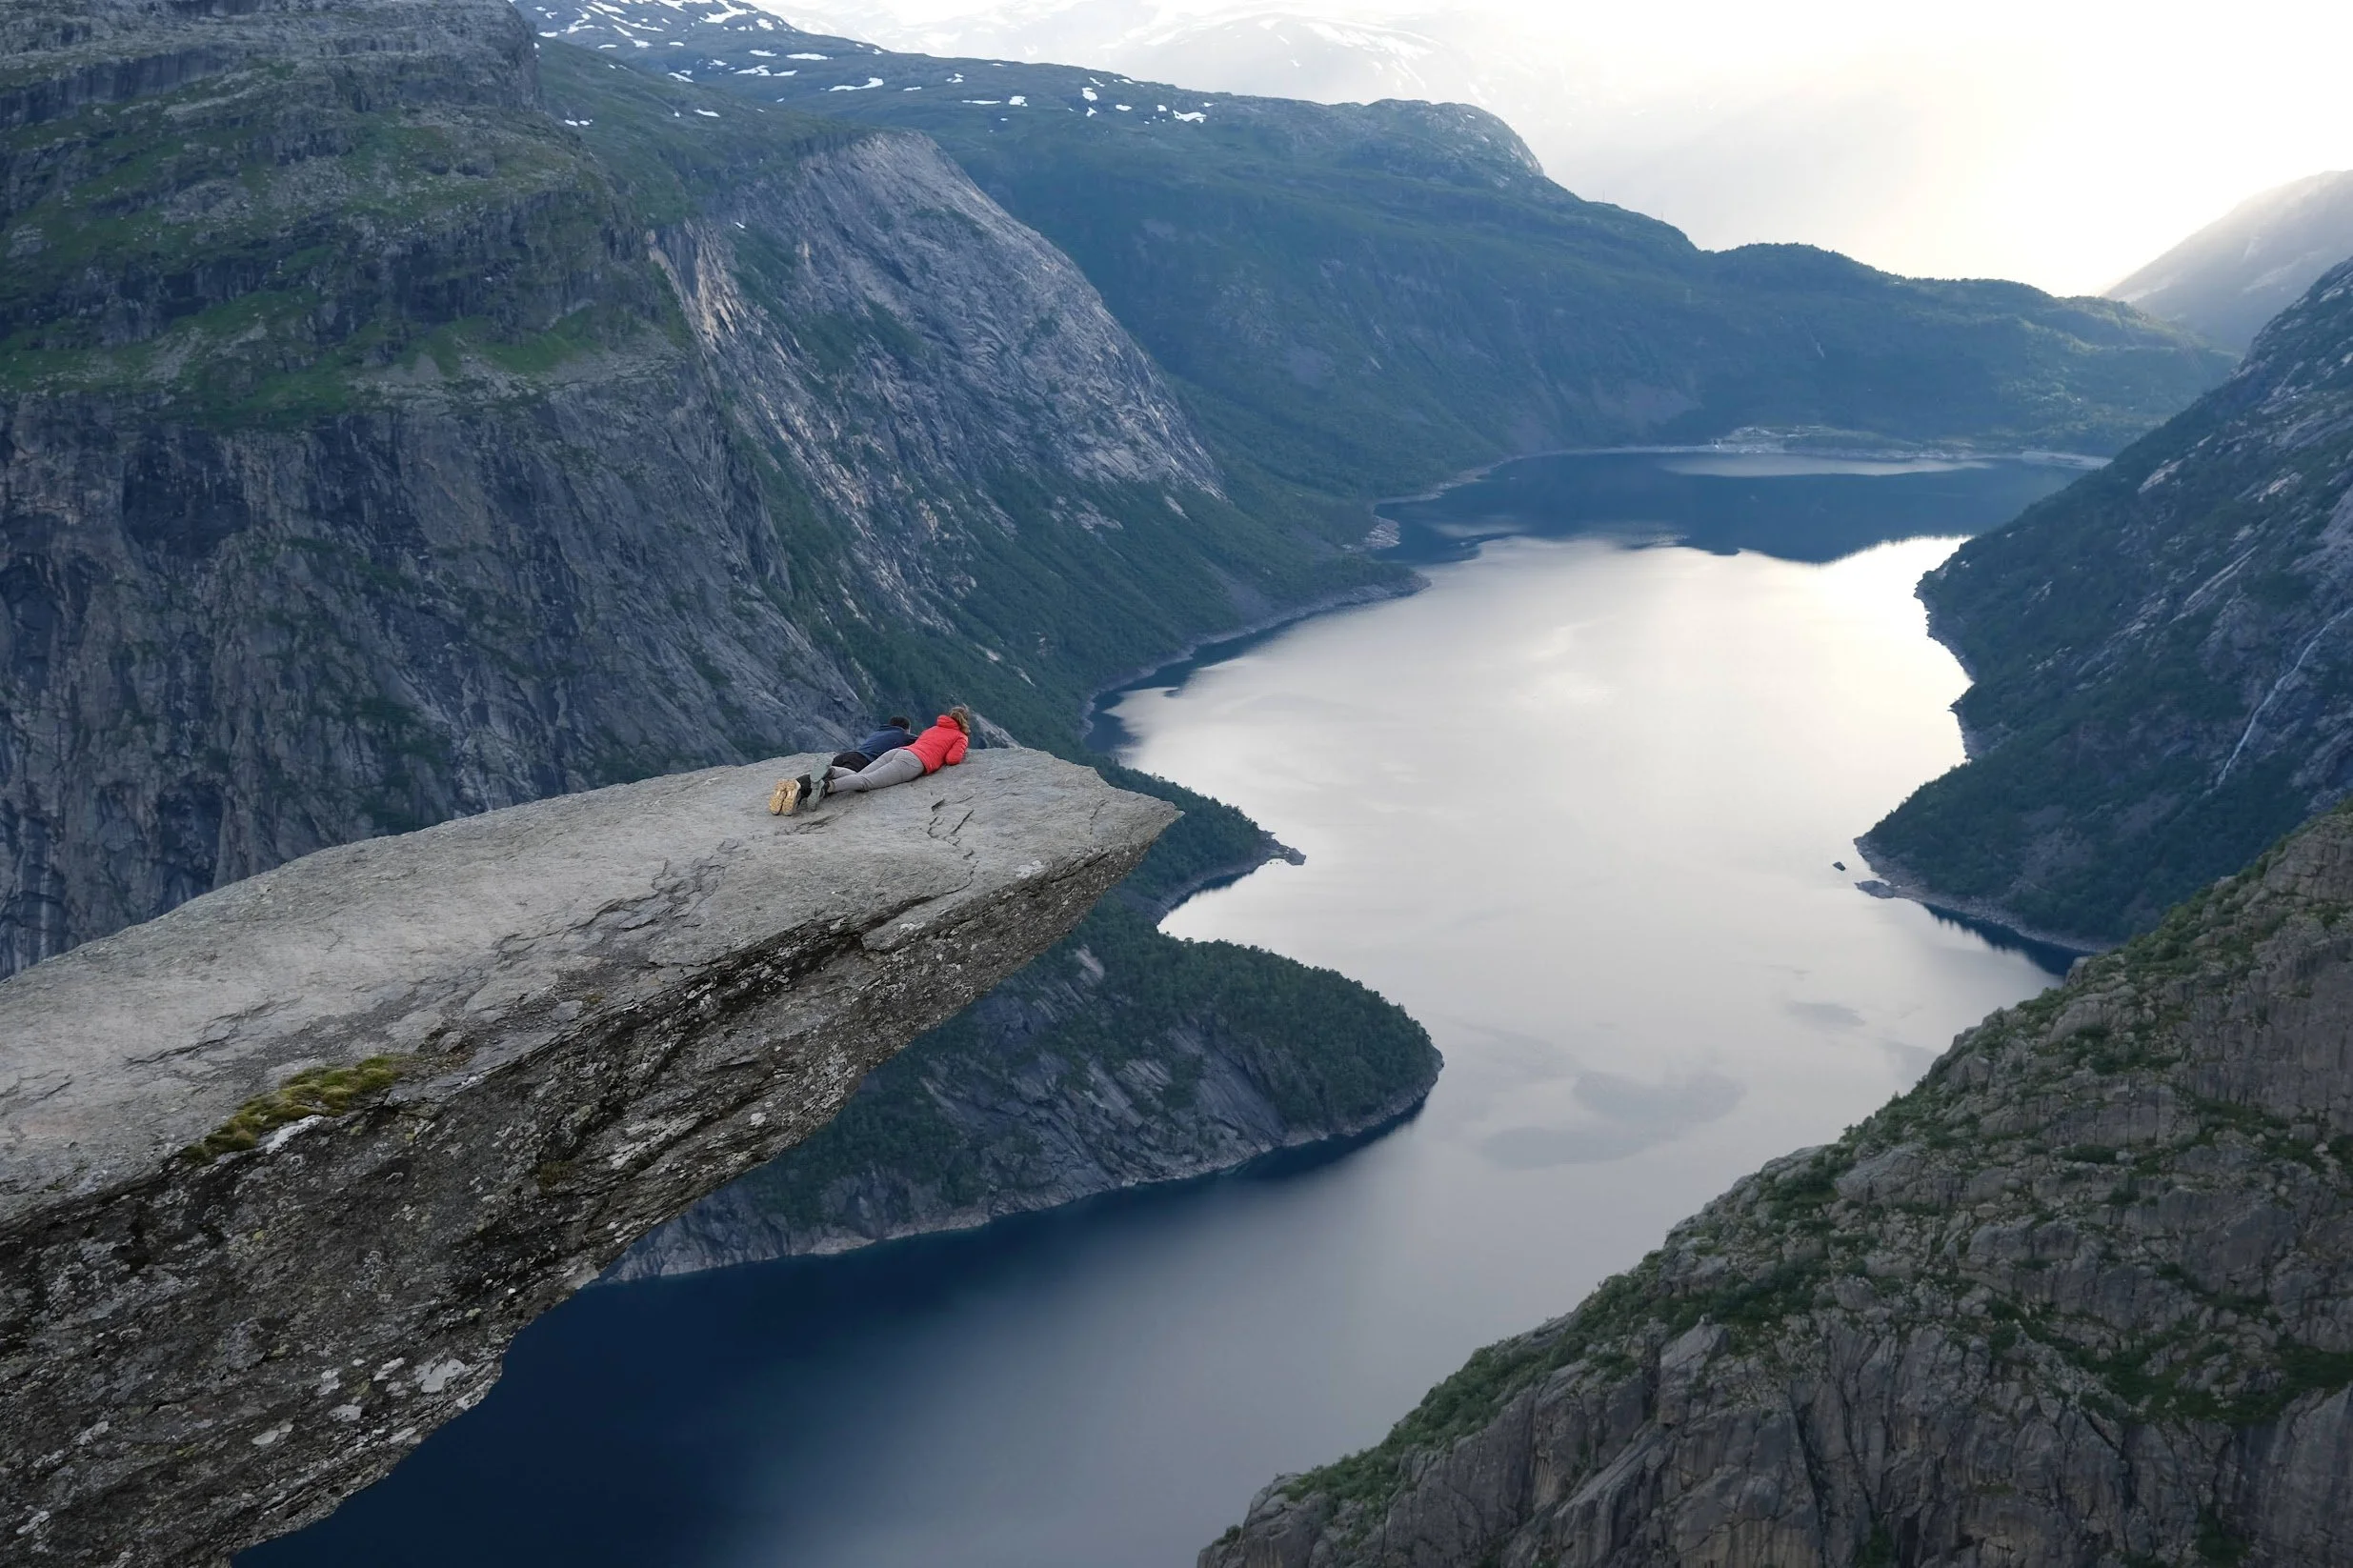
A magical place.
Looking down onto the water, you do feel quite insignificant.
Camping
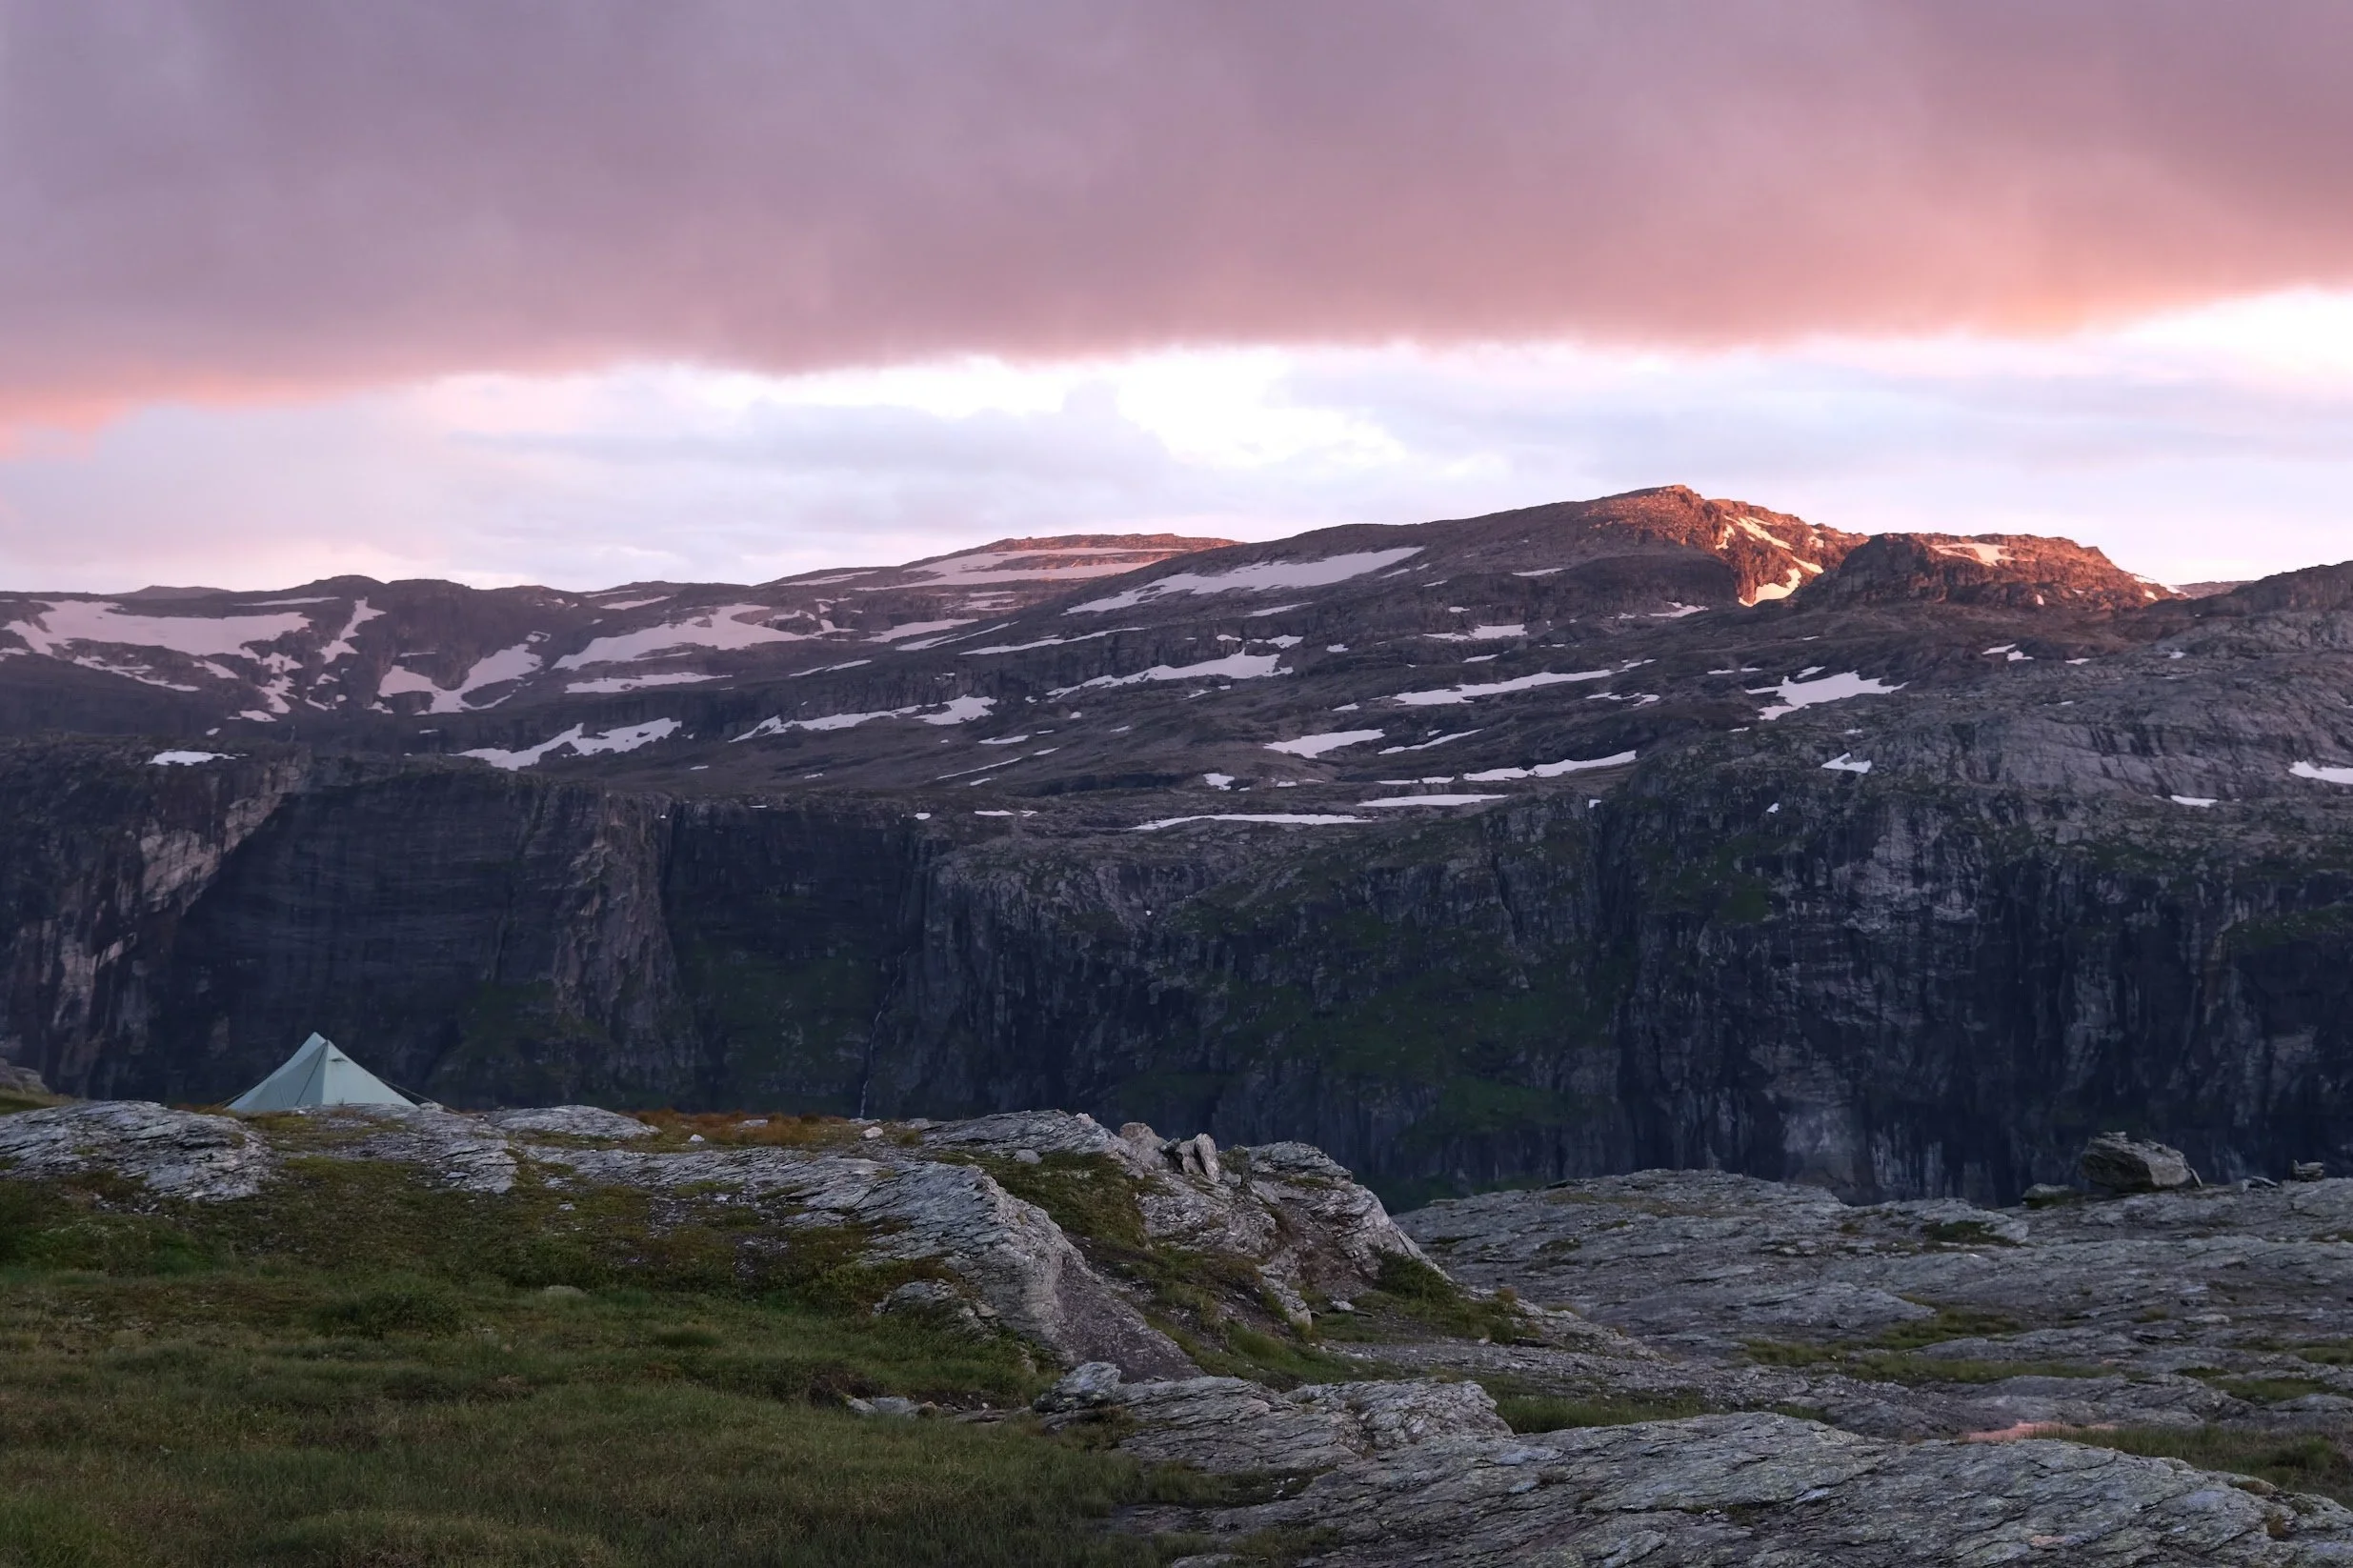
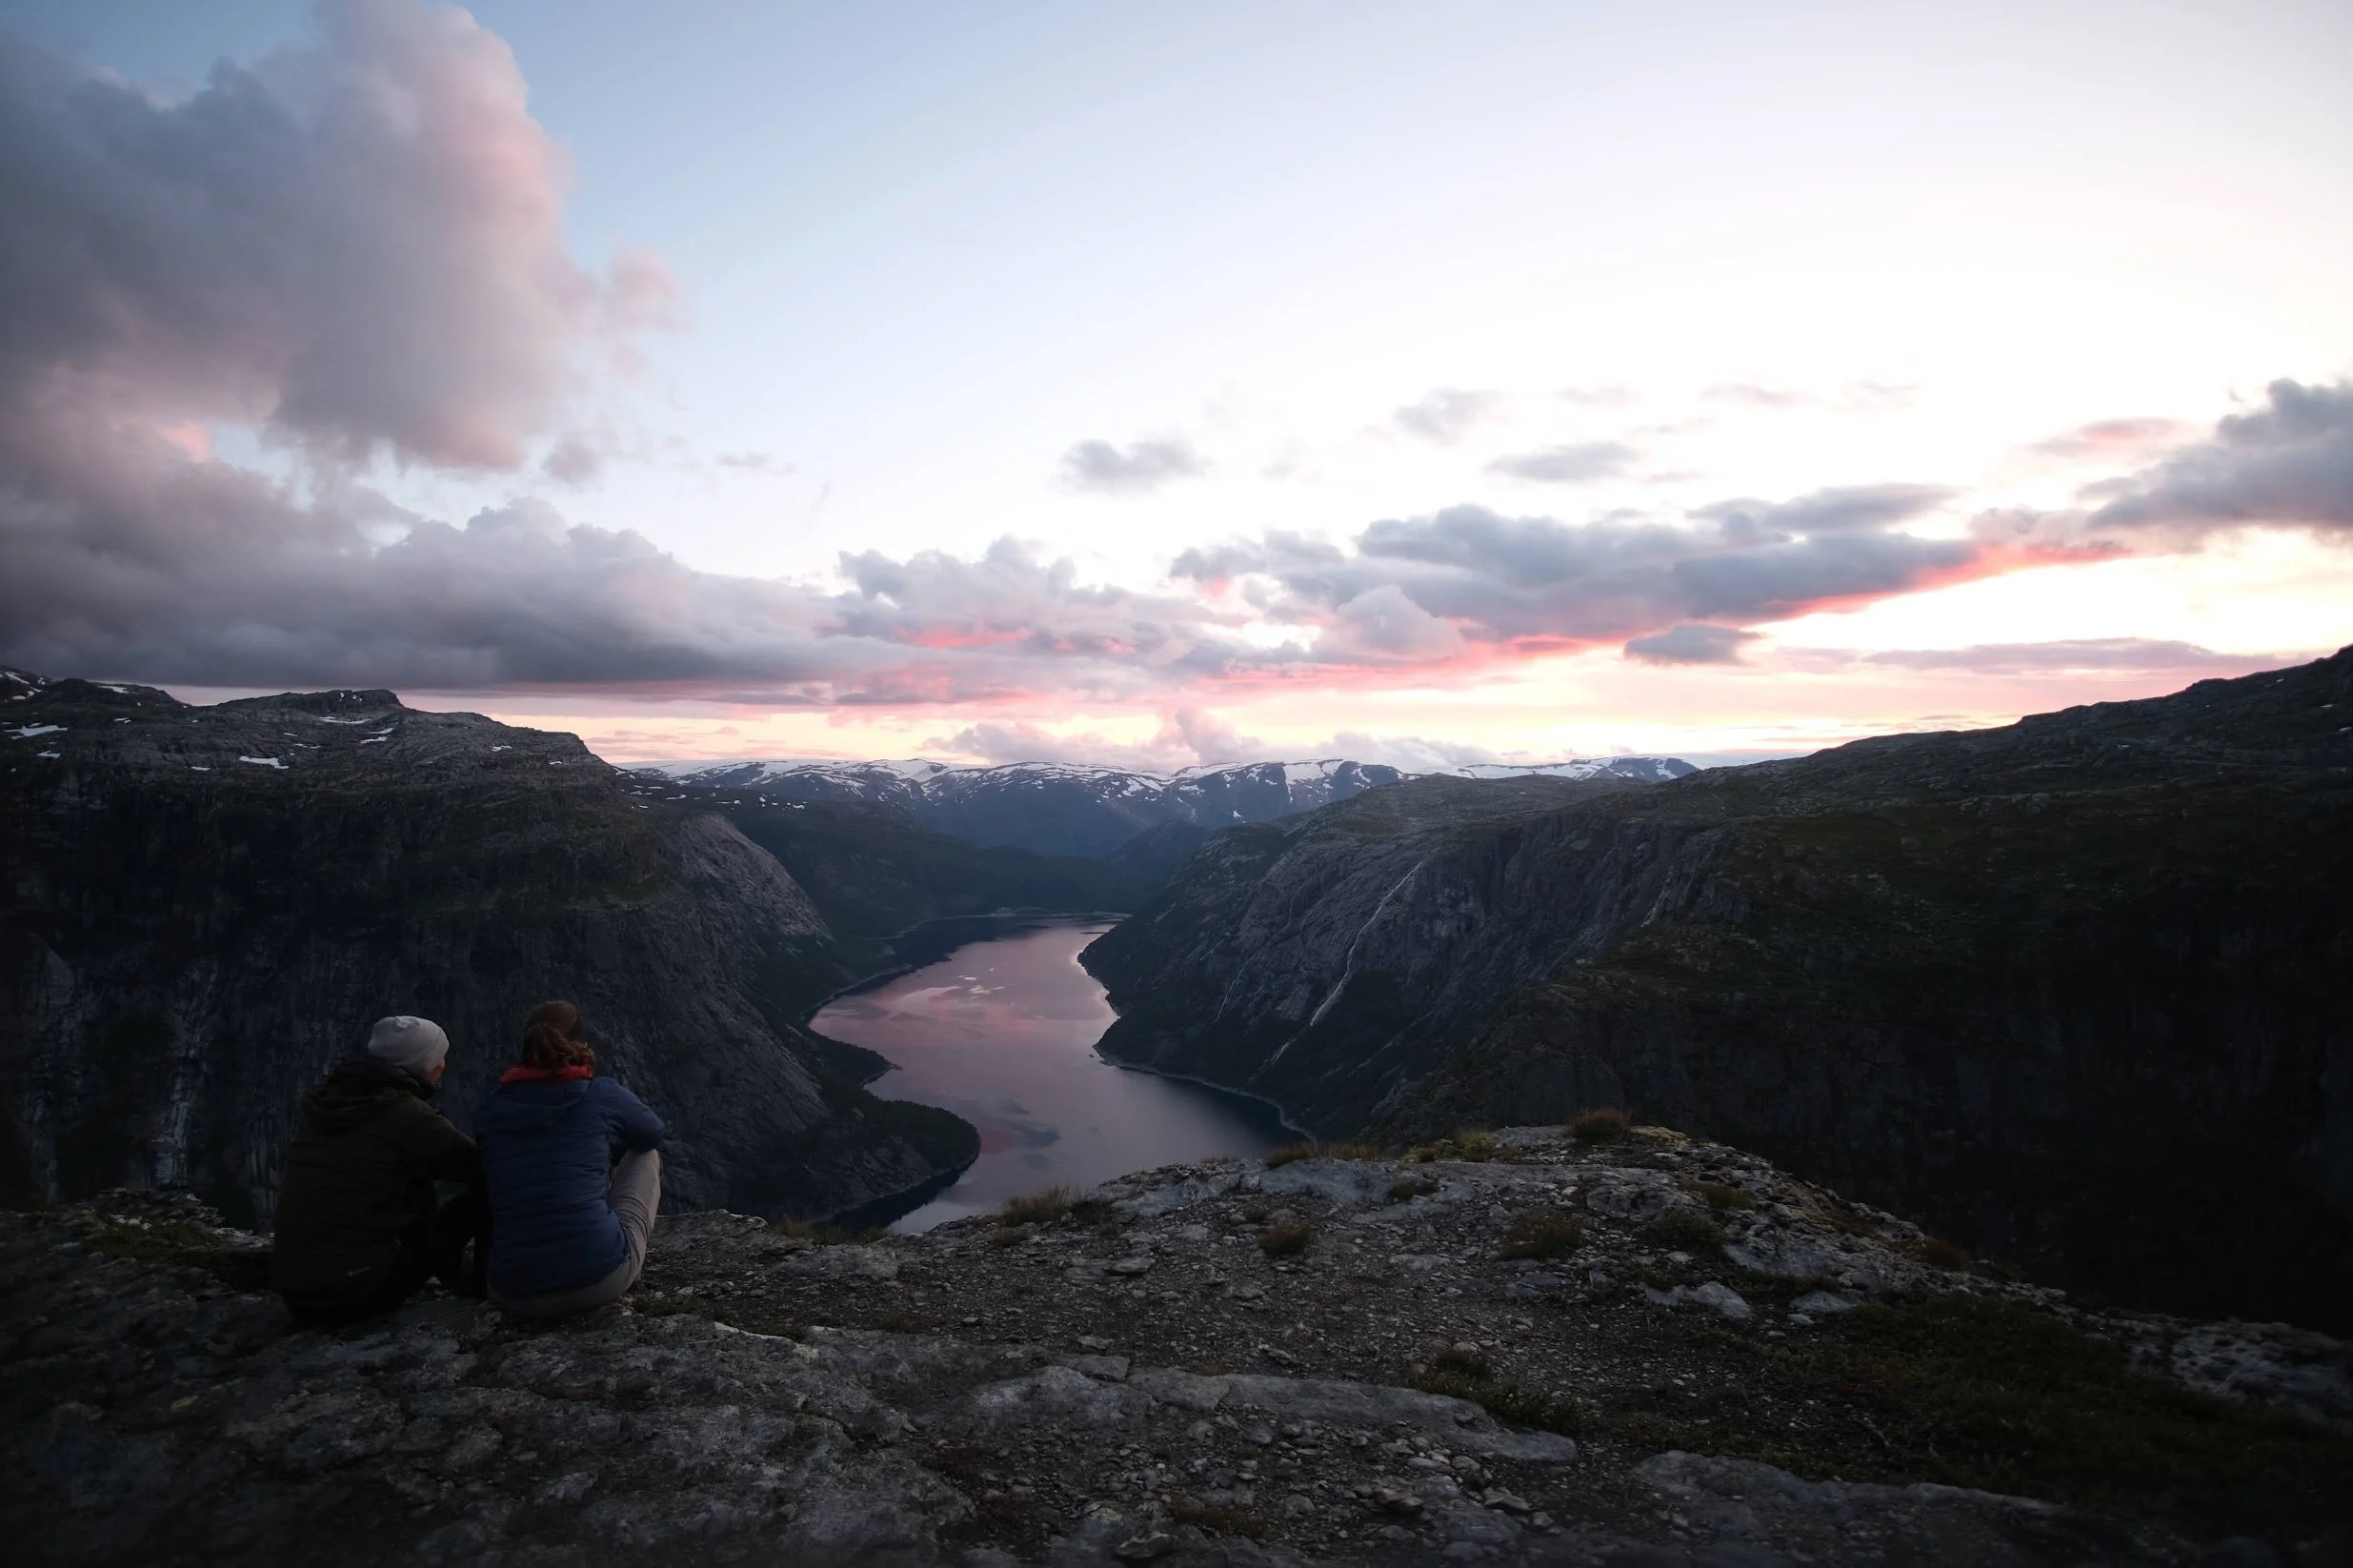
Camping up at the Trolltunga has become increasingly popular over the years so we weren’t the only ones doing it. On the night we were there, we counted about 20 other tents spread out over the grand space. This might seem like a lot, but we still had all the time in the world to enjoy a beautiful sunset, take pictures all alone on the famous Trolltunga and not feel bothered by others. The ground is very rocky, so finding a good spot to get our stakes in took a bit of time. Have a free-standing tent would come in very handy here. Other than that, it gets pretty cold up in the mountains. We paired a Rab sleeping bag rated for 5 degrees (celcius) with a Cumulus summer quilt and stayed sufficiently warm all night.
The next day
Hiking back down always seems tougher than going up. We took a slow start to the day, and after a nice warm breakfast packed up our tent and got to hiking. By the time we started, the first new people had already made their way back up the mountain. Because this trail is not a round-trip, you hike back the exact way you came. Still, in the morning light this felt completely different all over. Of course, this time all the people we came across were sweating their asses off on the ascent, while we slowly descended back to our car. The last bit is the worst, having to once again descend over this paved road for almost 4km making you very grateful to have made it, and also very proud to be done!


